Are you looking for a way to track your files along your workflow using IMatch categories? In this article, we’ll show you how to setup a simple yet effective workflow using categories, assignment action, color-coding and favorites.
Setting Up Workflow Categories
To get started, switch to the Category View and create a new top-level category with a name of your liking.
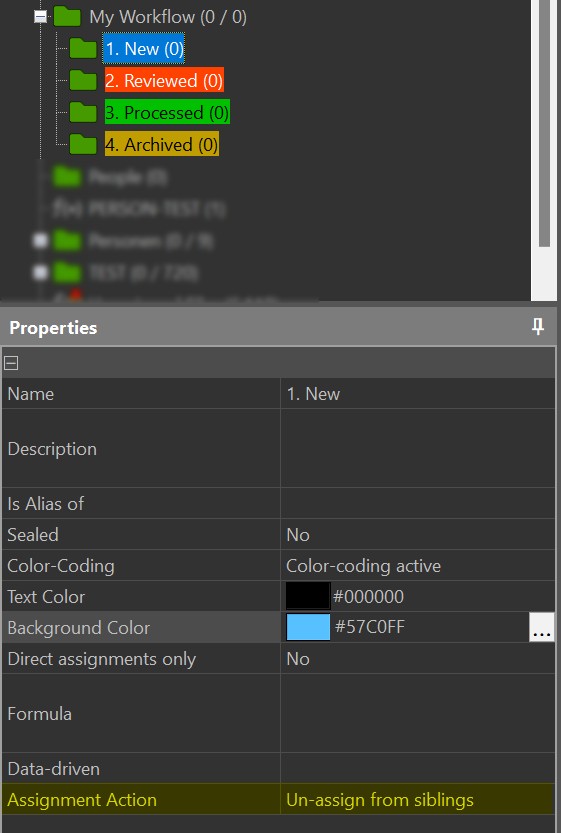
Below that, add child categories for each stage in your workflow. We’ve used: New, Reviewed, Processed, and Archived.
These categories will represent the different stages of your workflow.

Assignment Action
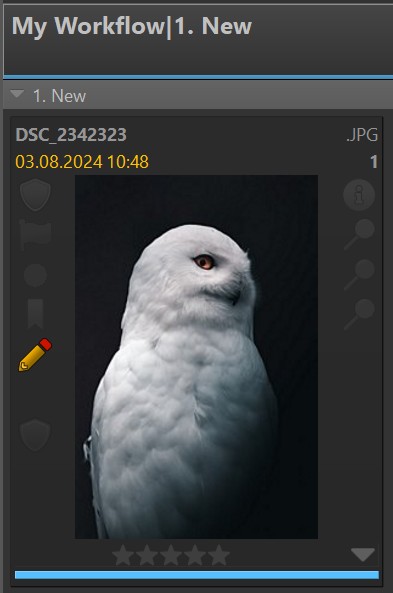
Since we’ve used color-coding for each category, the category bar in File Windows shows the color of the workflow stage the image is in. For an image that has been just added to your IMatch database, the color of the 1. New category is shown:
The key to this workflow lies in the assignment action. We’ve applied the Unassign from siblings action to each of the workflow
categories. This means that when you assign a file to a new category, it will automatically be removed from its previous workflow category.

Use Favorites to Change the Workflow Stage Quickly
To quickly change the workflow stage of one or more images, IMatch favorites are super-useful. Create a favorite for each of your workflow categories and you can assign them to any number of files with a single click or keyboard shortcut.
We’ve configured our favorites as shown in this image:

Moving Files Along the Workflow
Now that we have our categories set up, it’s easy to move files along the workflow. Simply select the file(s) in a File Window and
click on the favorite representing the current workflow stage.
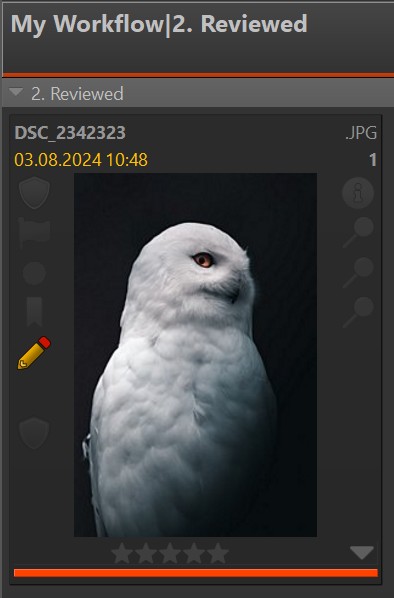
When you assign a different workflow category, the file(s) are automatically removed from the previous workflow category.The category color bar in File Windows updates to reflect that. This image is now in the 2. Reviewed stage:

Automatically Assign New Images to a Workflow Category
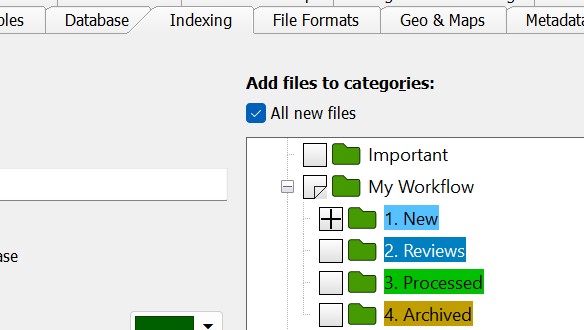
To automatically assign new files coming into your IMatch database to the first workflow stage category, configure it in the Indexing options. Open Edit menu > Preferences > Indexing and tick the box in front of the 1. New category.
IMatch now automatically assigns all new files to this category.

Versioning and Propagation
If you use versioning in IMatch, you can configure your propagation rules to propagate the My Workflow category (recursively) from master files to versions.
Let’s say you have a RAW file in your IMatch database. You edit it with an external RAW processor and produce a JPG from the result.
IMatch imports the JPG version into the database and assigns it to the 1, New category (if configured in the Indexing options), because it is a new file. When you now assign the 3. Processed category to the RAW master, it is propagated automatically to this JPG version.
Conclusion
Using categories and favorites makes it very easy to set up an automatic workflow in the IMatch DAM system. With color-coding enabled,
IMatch displays the color of the current workflow stage in File Windows, making it simple to see which files are in which stage.
To see all files in a specific workflow stage, click on the corresponding category in the Category View.
To filter any set of files by workflow stage, use the Categories Filter in the Filter Panel.
By following these steps and tips, you can streamline your workflow and effectively manage your digital assets using IMatch categories.

Mario M. Westphal is the developer of IMatch, the digital asset management system (DAM) for Windows. He has a strong background in software development and photography, gained through working for over 30 years in the field for many clients. His special interests are photography, music. literature and of course software development, with a strong focus on digital asset management, database systems and image metadata. He hails from Germany.
