
The My Panel feature allows you to create custom panels to display metadata values, Attribute values, and essentially any information you want to see that...
The My Panel feature allows you to create custom panels to display metadata values, Attribute values, and essentially any information you want to see that is accessible via variables. For example, here is how a My Panel looks:
This is a user-defined panel that shows metadata tags like headline and description, Attributes (Client, Price), and some custom icon indicators.
Another My Panel, this time docked horizontally to provide enough room for displaying Attribute values:

IMatch allows you to customize four My Panels. Like any other panel, My Panels can be docked anywhere, grouped with other panels, or set to be floating as independent windows. Adjust their size to match the content, arrange them vertically or horizontally as needed. Or float them as freely movable windows, even on a second monitor.
For further details on panel customization, see Panels.
To open a My Panel, go to the View menu > Panels > My Panels and select the panel you want to open or close. IMatch remembers which panels are open in the current workspace.
My Panel uses settings identical to the Overlays available in Peek View and the Viewer. These allow you to control what information is displayed, colors, and more.
To edit a My Panel, click on the small icon at the bottom of the panel. This switches the panel into edit mode:
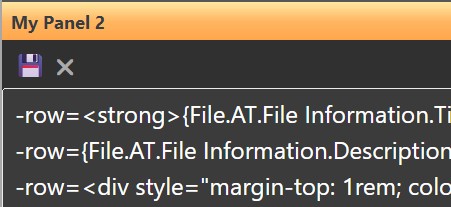
Click the disk icon to save your changes, and the X icon to cancel.
Panel settings are stored per user.
Panels always use 100% width and height with an opacity setting of 100%. The position is always top left, and the display mode is visible.
For a detailed description of how to customize My Panel contents and configure what to show in the panel, see Overlays.
If you want to use more than one My Panel, you can apply different settings to each panel. For example, one for Metadata and another for Attributes. It's entirely up to you.