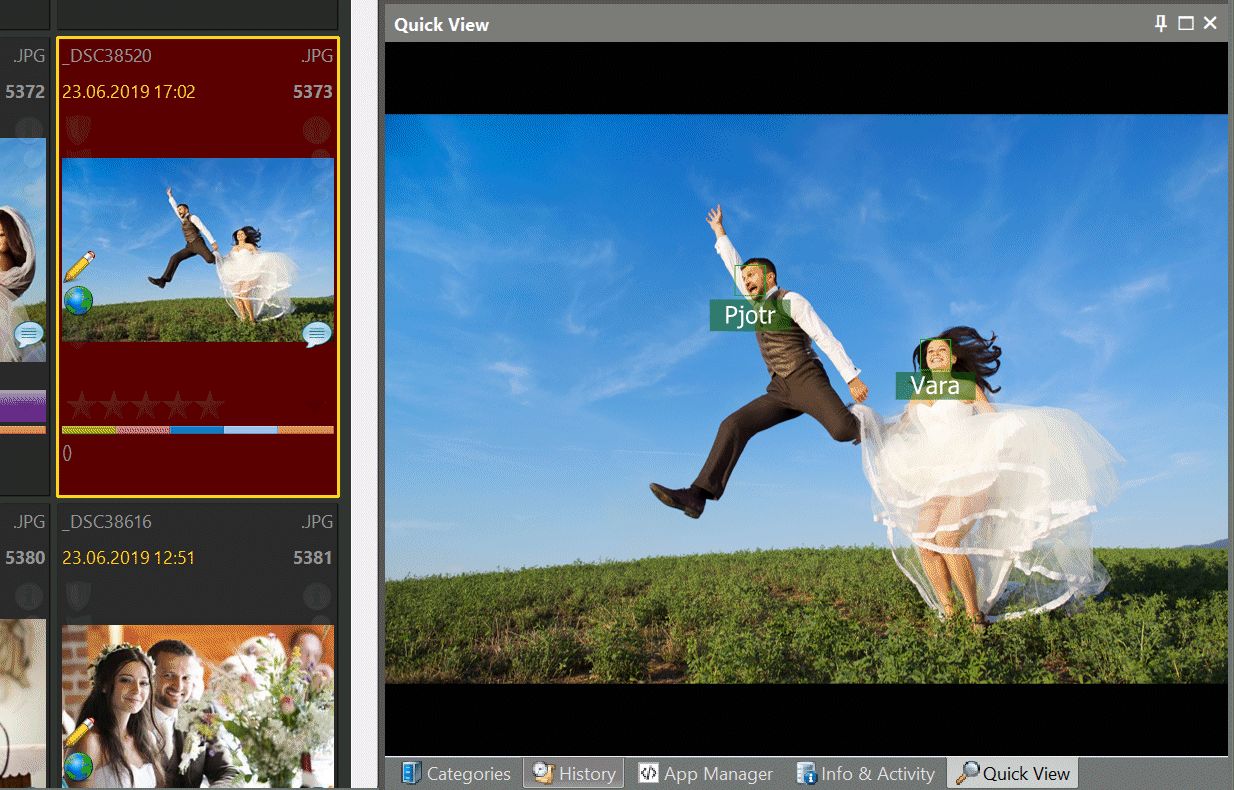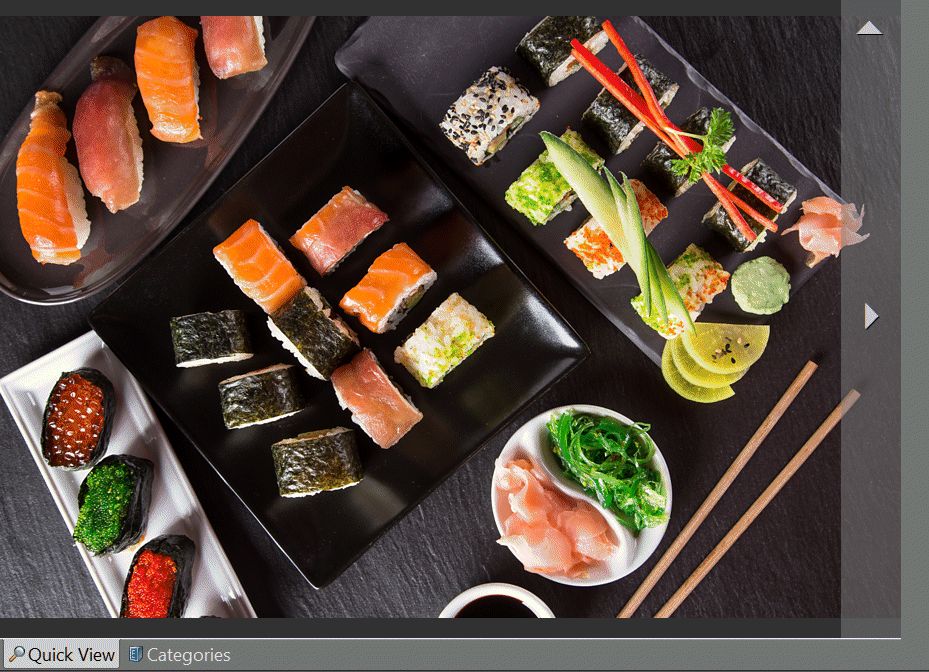
The Quick View Panel shows the file currently focused in the File Window.
The Quick View Panel can be used like a loupe, allowing you to see a larger version of the currently focused file in the active File Window.
If the Quick View Panel is not visible you can show it via View > Panels > Quick View or the associated keyboard shortcut F9,Q.

The Quick View Panel shows the file currently focused in the File Window.
The Quick View panel can be docked and resized like any other panel. You can also undock it by double-clicking on the caption bar and then move it freely around, even outside the IMatch main window or to a second monitor. This gives you a great deal of flexibility.
Whenever you click on a file in a file window, the Quick View panel displays a preview of that file. If a cache image already exists, the display is immediate. Otherwise IMatch creates a temporary or permanent cache image on-the-fly, depending on the caching preferences.
Most of the time you will work in fit-to-window mode, using the dive zoom as needed to check details in your images.
Use these keyboard shortcuts or the corresponding commands in the right-click context menu of the panel to control the zoom level:| Z | Toggle between fit-to-panel mode and 100% view. |
| Ctrl + 0 | Fit image in grid (fit-to-panel mode) |
| Ctrl + 1 | Display image at 100%. |
| Ctrl + 2 | Display image at 200%. |
| Ctrl + 3 | Display image at 300%. |
| Ctrl + 4 | Display image at 400%. |
| Ctrl + 5 | Display image at 50%. |
| Ctrl + 6 | Display image at 25%. |
| Ctrl + 7 | Display image at 10%. |
| Ctrl + + | Zoom in |
| Ctrl + - | Zoom out |
| Left-click | Dive Zoom. When in fit-to-window mode, this zooms the image to 100%, centering the image around the clicked location. |
| Left double-click | Toggle between fit-to-window and 100% zoom. |
| Left-click and move the mouse | Pan. When the image is larger than the panel, this pans the image (moves the image around) |
| Shift + left-click and move the mouse | Fast Pan. Hold down Shift while moving the mouse to pan faster. This is useful if the image is much larger than the panel. |
| Alt + left-click and move the mouse | Alt-Zoom. See below. |
| Ctrl + left-click | Dive out Zoom. When the image is displayed at a scale > 100% and the image is larger than the panel, this zooms back to 100%. You can still pan while holding down Ctrl. This is a great way to quickly look at the 100% image while you look at details. |
| Ctrl + mouse wheel | Zoom in and out. |
This is probably the most intuitive zoom mode. It works perfectly smoothly between 10% and 800%.
This interactively zooms the image in and out while you move the mouse. Using this simple technique you can zoom into any area in your image. The zoom range is 10% to 800%.
If an image is larger than the available space in the panel you can pan it by left-clicking with the mouse and then dragging the mouse to pan the image.
If you hold down the Shift key while panning, the Viewer switches into an fast panning mode. This allows you to pan even very large images with ergonomic mouse movements.
When you move the mouse near the left or right edge of the Quick View panel, IMatch displays a flap overlay. By clicking inside this area you can change the currently focused file in the file window, moving to the previous or next file. This is a convenient method to quickly review any number of files.

Using the
flaps to navigate between the files in the file window.
Move the mouse near the left or right edge of the Quick View panel to display these flaps.
When the currently focused file in the file window is a stack top or a master with a version stack, you can browse the files in the stack (whether they are in the current scope or not!) by holding down the Shift key when clicking one of the flaps. This enables you to quickly review the files contained in a stack without the need to open the Stack Panel.
If the currently selected file is a master or a stack top, the flaps on the left and right side of the panel show additional controls which allow you to navigate the stack:

Additional controls to move to the next (or previous) image in the stack and to return to the top image.
Alternatively hold down the Shift key and use the cursor left / cursor right keys to navigate the stack.
Move the mouse into the upper-right corner to display the menu button. Left-click to open the context menu: This has the same function as right-clicking into the window.
When the Quick View panel is the active window (click into it!) you can also use the Cursor right, Cursor left and Home keys to navigate to the next and previous file (and, together with Shift, to the next and previous file in the selected stack). The Home button always navigates back to the file currently selected in the file window.
While the file window has the focus (click into it!) you can hold down the Space bar to switch into Sweep mode. In this mode the Quick View panel automatically updates to show the file currently under the mouse cursor in the file window. While holding down Space just move the mouse cursor to the file you want to see in the Quick View panel.
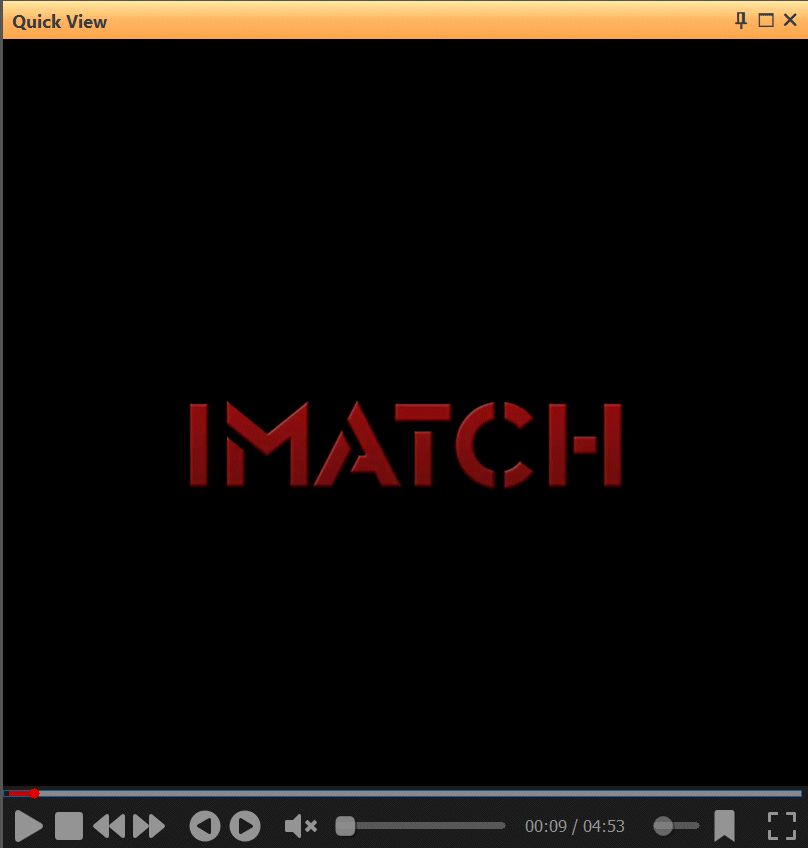
The Quick View Panel integrates a capable and feature-rich video player based on Windows Media Foundations.
If the selected file in the active File Window is a supported video file, the panel automatically switches into video player mode.

The integrated media player showing a video.
The player offers common features like navigating back and forth, scrubbing (dragging the slider to navigate to positions in a video), volume control, muting, auto-play and a full-screen mode.
The video player has been designed to work like similar players used by popular video platforms.
Hover the mouse over a toolbar icon to see a description and the corresponding keyboard shortcuts.
SPACE or K | Start or pause a video. |
Left-click into the video | Start or pause a video. |
Cursor-left / Cursor-right | Go back / forward 5 seconds. |
Cursor-up / Cursor-down | Increase / decrease volume. |
M | Toggle mute. |
A | Toggle auto-play. |
PageUp / PageDown | Previous / next video in the active File Window. This works well when used with auto-play to quickly navigate between the videos in the active File Window. Only supported video formats are considered by this command. The ribbon buttons for this command may not show when the Quick View Panel is very narrow, but the keyboard shortcuts will work. |
F and ESC | Toggle Full-screen mode (ESC to end full-screen mode). |
B | Edit Bookmarks. |
Click the bookmark icon in the player toolbar to set, delete and navigate to bookmarks you have already created. Using bookmarks enables you to quickly navigate to specific time points or highlights in videos.
The bookmark icon in the ribbon shows a check mark when a video already has bookmarks.
IMatch creates a number of video previews for each video and plays them as a short animation when you hover the mouse cursor over a video.
You can configure thumbnail settings via Edit menu > Preferences > Database.
If you create more than one bookmark for a video, the File Window by default uses the video frames of these bookmarks for the
animated preview instead of the auto-generated preview thumbnails.
If you don't want this, you can disable it via the Edit menu > Preferences > File Window.
For common web documents, the Quick View Panel loads the file into an integrated web browser. Text and similar files are loaded into a text preview control. You can disable this under Edit > Preferences > Application: Quick View.
In order to display animated GIF files properly, the Quick View panel renders them using the integrated web browser. If you don't want this, you can disable this under Edit > Preferences > Application: Quick View.
The Quick View panel displays PDF files using a live view implemented by the integrated web browser. This allows you to page through PDF files, zoom in, see the index etc. You can disable this under Edit > Preferences > Application: Quick View.
The Quick View panel includes specialized Viewers for some other formats, e.g. it attempts to display Office or PDF documents using the web browser control. This works very well for most commonly used formats.