The Timeline View
The Timeline View organizes your images automatically based on their creation date and time.
If the Timeline View is not visible, click on the Timeline tab below the main menu bar near the top of the IMatch window.
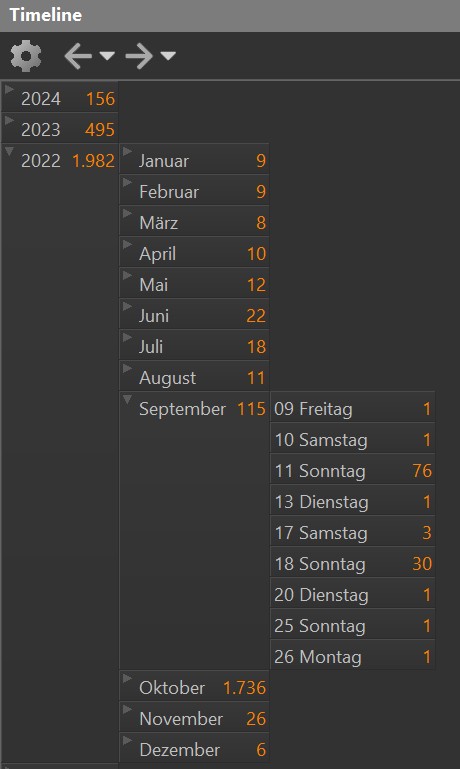
The Timeline View in IMatch displays files in a virtual timeline and locates them based on the selected timestamp extracted when indexing the file.
The Timeline View
The timeline arranges all files in the database in a hierarchical structure. By default it uses Years, Months and Days to arrange the files. You can optionally also arrange files by half-year, quarter and even week. The IMatch timeline uses the ISO week date system with a leap week calendar system that is part of the ISO 8601 date and time standard. This is also the standard in Windows.
Similar to categories and collections, each timeline node "contains" the files taken within the corresponding period. Please note that files are assigned to the day node, and all other nodes cumulate files from this node. A month contains all the files created on the days within this month.
You can dock the timeline also horizontally above or below the File Window if this works better for you:
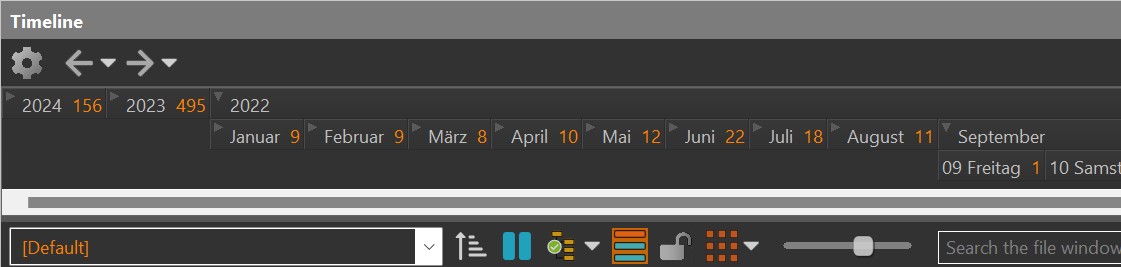
The Timeline View docked horizontally (running on Windows with a German locale)
To expand / collapse timeline nodes with the mouse, click on the little arrows left of the name or double-click the node.
| Cursor up | Go up |
| Cursor down | Go down |
| Home | Go to first node |
| End | Go to last node |
| Cursor right | Navigates to the first children of the current node. Expands the node if necessary. Hold down Ctrl to expand the node recursively. |
| Cursor left | Navigate to the parent node of the current node. Hold down Shift to also collapse the current node. |
| + | Expand the current node. Hold down Ctrl to expand the node recursively. |
| - | Collapse the current node. Hold down Ctrl to collapse the node recursively. |
| SPACE | Expand/collapse current node. Hold down Ctrl to toggle the node recursively. |
The Timeline View supports a range of options. To change these options, click on the Configure button in the Timeline toolbar.
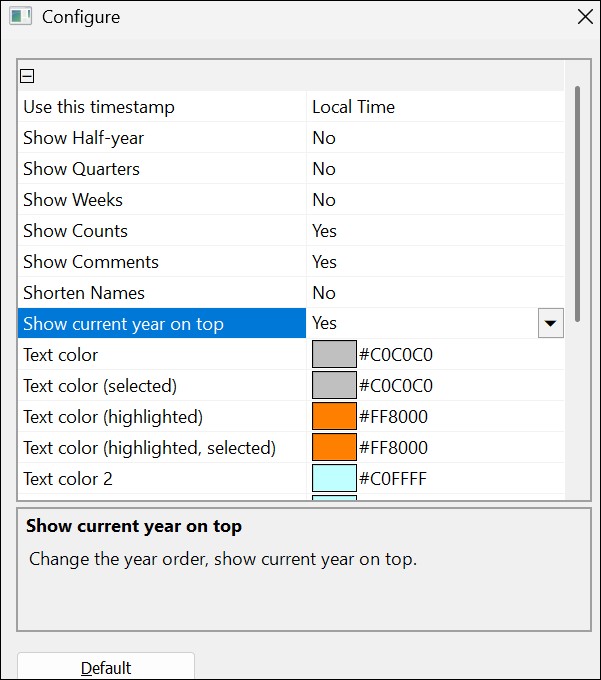
The Timeline Configuration dialog box
The timeline is by default based on the global File.DateTime timestamp IMatch maintains for each file, expressed in your local date and time.
See How IMatch uses Date and Time for detailed information on how from which metadata tags IMatch produces this global timestamp.
You select the timestamp to use in the Timeline View options, via the Use this timestamp property right at the top. You have these choices:
Local Time | This is the default setting. The timeline is based on File.DateTime (in UTC) and converted into your local time zone |
Original Date and Time | The timeline is based on the original date and time of files, if available. Not all file formats provide an original timestamp in metadata. File.DateTime in local time is used as a fallback if there is no original timestamp.If you use the Date and Time Original in File Windows, switching the timeline to use the same timestamp is a good idea. |
UTC | The timeline is based on the UTC timestamp of files. This option is merely for photographers and other users who work in UTC to easier deal with files created in a wide variety of time zones. |
Consider you have an image that shows these timestamps in the Metadata Panel:

For a user in Germany, with a time-zone offset of +01:00, IMatch maintains these timestamps (when no DST is active):
UTC | 22.06.2024 01:47:35 |
Original Date and Time | 21.06.2024 19:47:35 |
| 21.06.2024 19:47:35 |
Local Date and Time (in Germany) | 22.06.2024 03:47:35 |
As you can see, for this particular file, the file is either placed on Friday the 21. or on Saturday the 22. on the timeline. Which may come as a surprise, unless you already have experience with time zones and their sometimes unexpected side effects.
If you don't want to see the timeline in your local date and time format, switch it to Original Date and Time. If you work with files from all over the world, building the timeline based on UTC may simplify and unify things for you.
Timeline Nodes can have a custom icon and comment. You can select the icon and edit the comment for each node in the Properties tab.

Timeline Node property grid
This tab allows you to highlight (in a different color) all time line nodes matching a given search term. You can, for example, quickly highlight all Tuesdays or all nodes with comments containing a certain word. You can also filter out timeline nodes or hide nodes without any files.
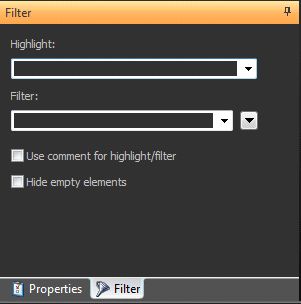
The Filter Panel

Timeline View with a highlight filter on the word "Tuesday"
When you point the mouse cursor at a category, IMatch displays a tooltip with a preview of the timeline node contents. See Thumbnail Tooltips for more information.