
Start organizing your files today!


After installing IMatch on your computer, follow a few simple steps to create your database and configure IMatch for your environment and workflow. This takes only a few minutes.
IMatch guides you through these steps when you launch IMatch for the first time.
The database stores all information about the images and other files you manage with IMatch.
The IMatch database is stored as a file with the .imd5 extension on a drive on your computer. By default, IMatch creates your database in the My Documents folder, but you can change that during database creation.
More information about IMatch databases...
In this step, you tell IMatch which folders and files you want to manage in your database. IMatch then retrieves information about these files from Windows, creates thumbnails and cached images, and extracts metadata such as keywords and descriptions.
Once this step is complete, you can start viewing, searching, and managing your files in IMatch.
IMatch is designed to manage the folders you add to your database and all their subfolders recursively. For an optimal workflow, keep the folders you plan to manage in IMatch in a separate folder hierarchy, for example c:\images.
More information about adding folders and files to your database...
Press the F1 key anywhere in IMatch to open the help topic matching the current feature, command, or panel.
The keyboard cheat sheet lists all frequently used commands and their corresponding keyboard shortcuts.
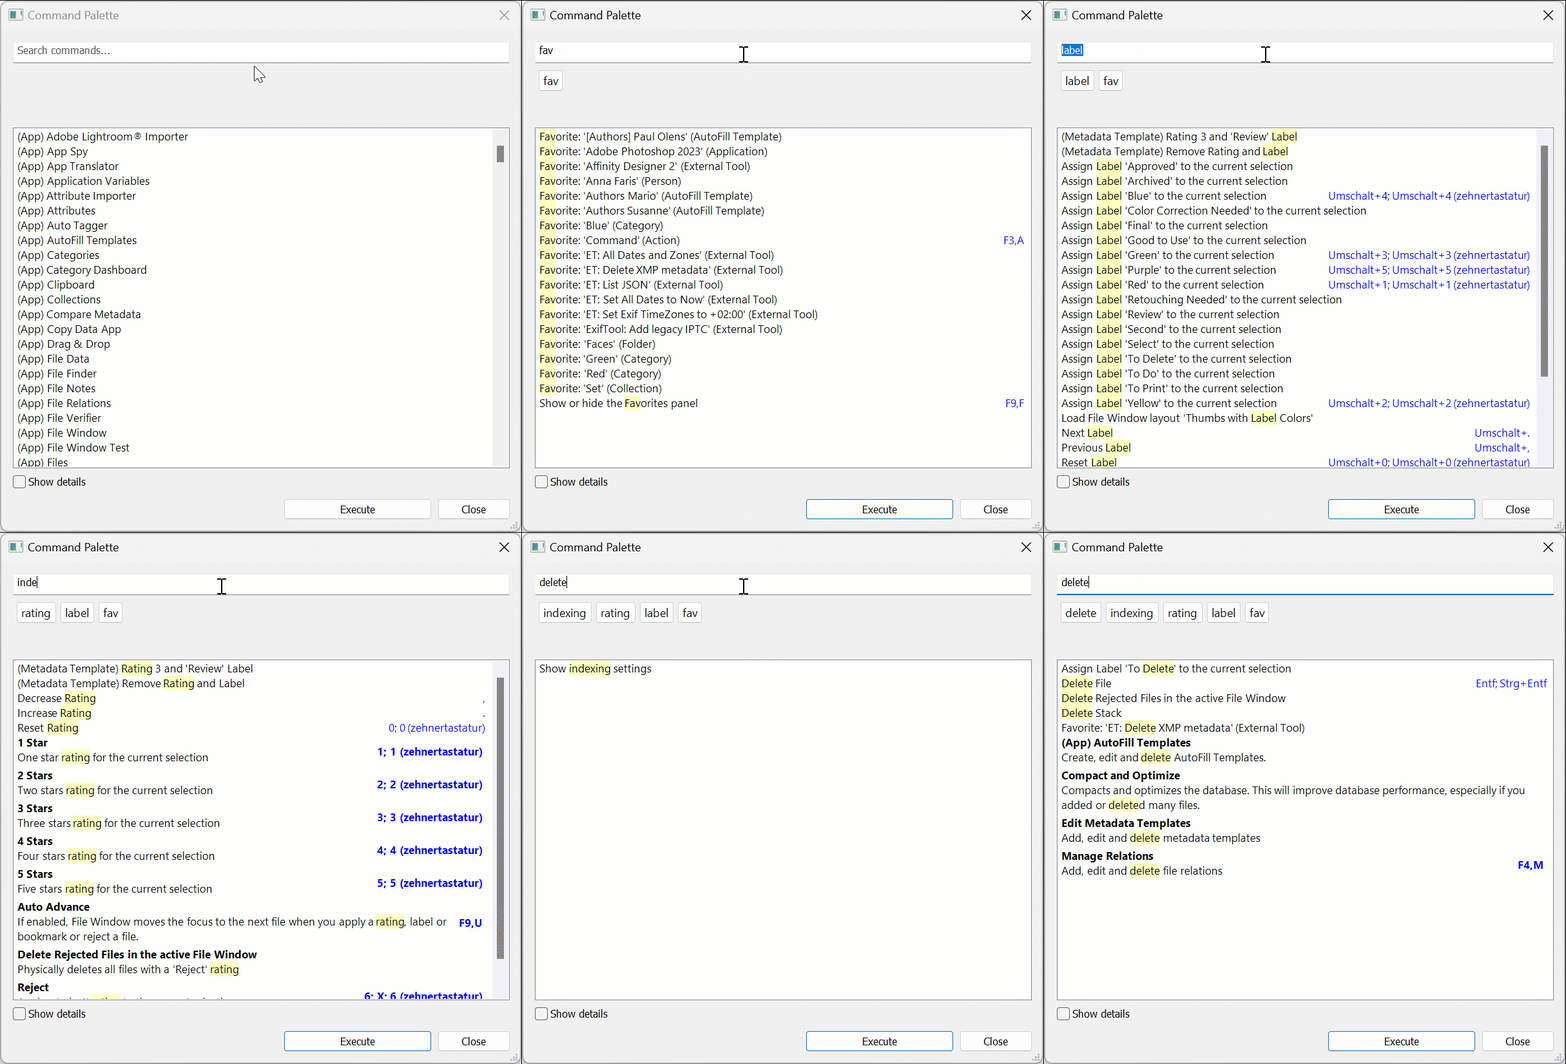
Press Shift + Ctrl + P to open the Command Palette.
The Command Palette gives you direct access to nearly all IMatch commands, features, and settings by searching:
This is very helpful when you want to find commands and features and see their corresponding keyboard shortcuts.
Continue with the Meet IMatch help topic for an overview of all feature groups and workflows.